
Knowledge base > Add room type and room details
How to Add a Room Type and Room Details on Zleeper
Now that your property is successfully registered on Zleeper, the next important step is to add your room types. Setting up room types correctly helps you manage reservations, availability, and channel distribution (OTA) more accurately.
This guide will walk you through how to create a room type and add rooms under it.
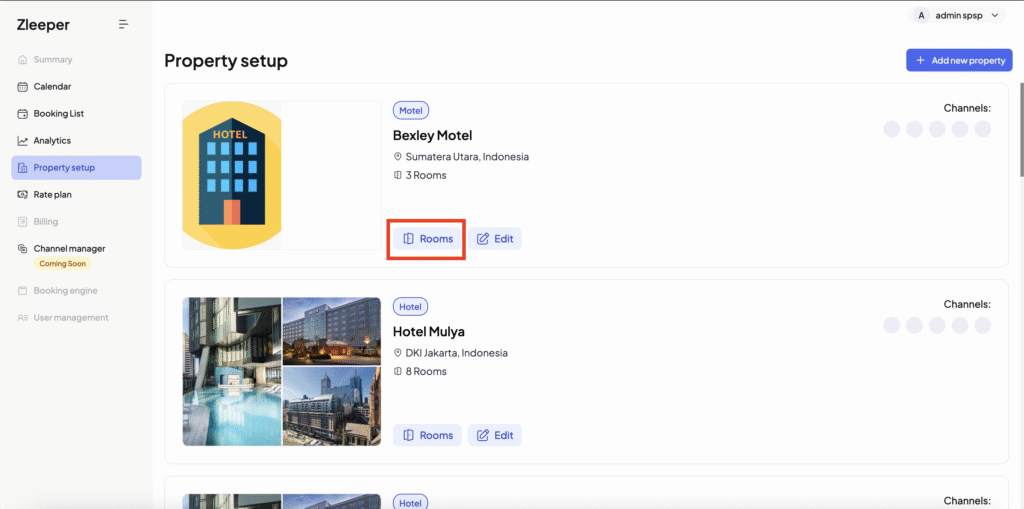
Step 1: Go to Property Setup
From your dashboard, open your property setup page.
Click button “Rooms” to access the Room Type setup page.
You will then see the Room Type form where you can create and manage your room categories.
Step 2: Click “Add Room Type”
On the Room Type page, click the “Add Room Type” button.
This will open the room type details form that you need to complete.

Step 3: Fill in Room Type Details
Room Type Name
Enter a clear and descriptive name for your room type.
Examples:
- Deluxe Room
- Standard Twin
- Family Suite
- Superior King
This name will be used across your booking system and connected channels.
Bed Type
Select the bed configuration available in this room type.
Examples:
- King Bed
- Queen Bed
- Twin Bed
- Double Bed
This helps guests and OTAs understand your room layout.
Step 4: Set Occupancy Details
Minimum Occupancy:
Enter the minimum number of guests allowed to stay in this room type.
Maximum Occupancy:
Enter the maximum number of guests this room can accommodate.
Maximum Adults:
Specify the maximum number of adults allowed in the room.
Maximum Children:
Specify the maximum number of children allowed in the room.
These settings are important for accurate booking restrictions and rate plans.
Step 5: OTA Sync & Smoking Settings
Sync with Online Travel Agents (OTAs)
Choose Yes if you want this room type to sync with OTAs like Agoda, Booking.com, Traveloka, etc.
Choose No if this room type is for internal or offline use only.
Smoking Policy
Select whether guests are allowed to smoke in this room type.
- Yes = Smoking room
- No = Non-smoking room
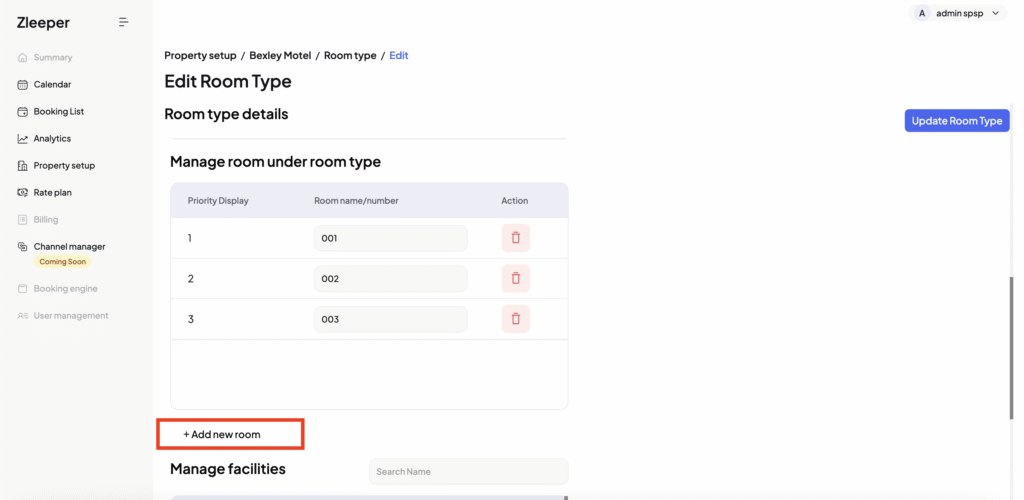
Step 6: Manage Rooms Under Room Type
In the “Manage room under room type” section, you can add individual rooms that belong to this room category.
Click “+ Add new room” to insert room names or numbers.
Example:
If your room type is Deluxe Room and your hotel has 10 deluxe rooms, you can add:
- 001
- 002
- 003
- 004
- 005
- 006
- 007
- 008
- 009
- 010
This means all these room numbers are grouped under the Deluxe Room type.
This setup helps Zleeper manage availability, inventory, and reservations more efficiently.
Step 7: Select Room Facilities
Scroll to the Manage facilities section and tick the facilities available for this room type, such as:
- Bathtub
- Shower / Bathtub combination
- Cable television
- Bottled water
- Bidet
Selecting accurate facilities improves your property listing quality across booking channels.
Step 8: Upload Property Images (Optional but Recommended)
You can upload room images to showcase your room type.
High-quality images help increase booking conversion and improve guest trust.
Step 9: Click “Create Room Type”
After completing all required fields, click the “Create Room Type” button to save your setup.
Your room type will now be successfully created and ready for:
- Reservation management
- Channel manager sync
- Rate and inventory setup
For the best setup, use consistent room naming such as 101–110 instead of random names, set accurate occupancy limits to prevent overbooking, enable OTA sync if you plan to sell rooms on online travel agents, and ensure all physical rooms are added under the correct room type for accurate inventory tracking and smoother reservation management in Zleeper.